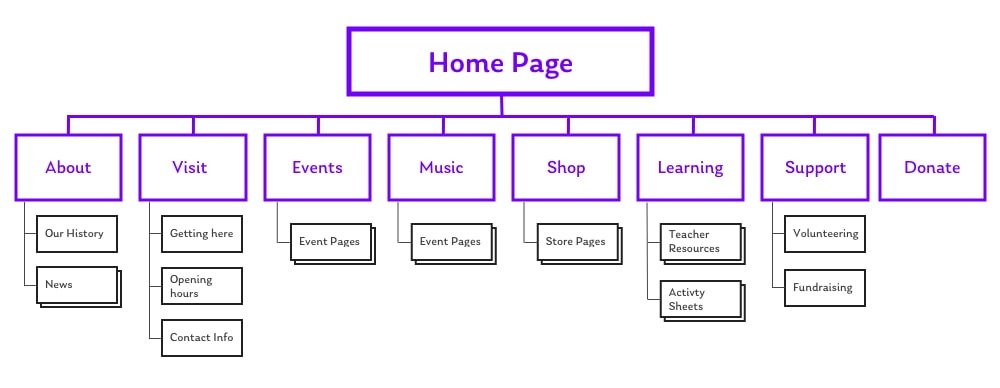
This is the last step of blog set up that you should do before writing your first blog post. The menu is the option you provide for your readers to help them navigate your blog. You can have many different options on your menu, but the theme templates tend to have 4 different sections on them.
The way I suggest you set up the menu initially is to simply remove the links to pages which you have not got ready for viewing yet. Yes you could spend time on these before you start writing a blog post, but people can get a little caught up with this work and never get to the writing part. Thats why I recommend you do it the other way around.
I want to get your blog set up and working for you as quickly as possible. That means having just the basics ready to go – the rest we will work on after you have a blog post added! The menus option will also make more sense to you when you can see your first blog post live.
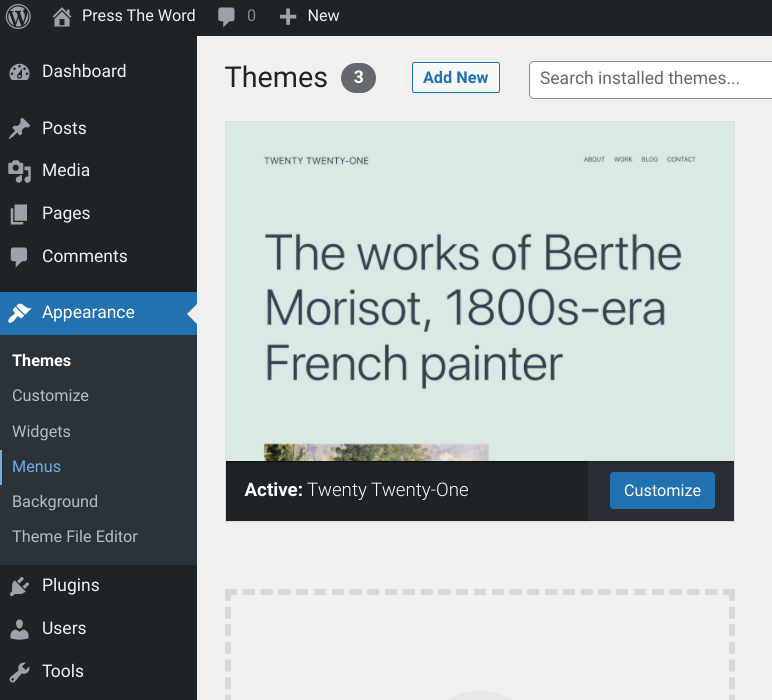
To remove the pages links which you have not set up yet from the menu simply click on “Appearance” then “Menus” in your wordpress dashboard:
The Menu Page
When you click through to this page, it is probably going to look a bit confusing to you. There is quite a bit of information here, however what we are going to do is very simple. Look for the “Menu Structure” section. It is just across the page a little as shown below:
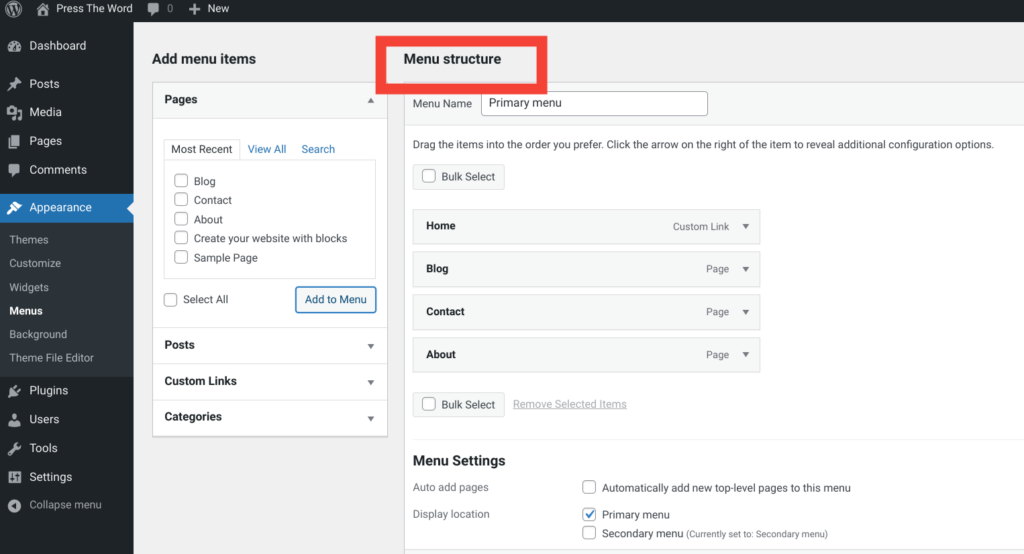
Here you see there are currently 4 different sections on the menu right now: Home, Blog, Contact, and About.
What we are going to do is remove these from the menu and not actually delete the pages themselves. This will let you work on the pages after you have written your first post.
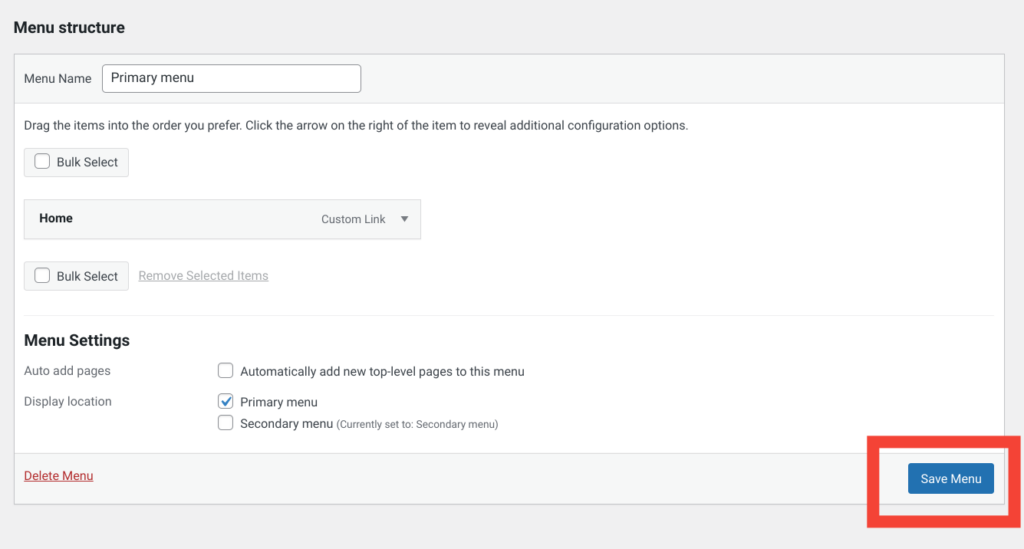
I recommend you leave the Home link and remove the others for now. To do this click on the arrow to the right side of the menu page and it will open in a drop down section. At the bottom of the section for that page click on remove:

Repeat this for the Contact and About sections to remove them from the menu as well.
When you have removed these items from the menu, and left the Home Page in place click on the blue save menu button.
Now you won’t have pages that you haven’t completed yet showing when you publish your first blog post and share it with others.
Next on our to do list is to write that first post.
Yes, you are about to become a published blogger…… are you ready?
Of course you are!
See you on step 5:
Ellie xx
Some great tips here – thanks
This was a great post. I never really knew how the menu page worked. Thanks so much. I have to do this now with my GDI blog.